The apps for taking and editing photos on iPhone and Android mobile devices in 2020
In the early 20th century, it became common to say “a picture is worth a thousand words”. There’s a lot of discussion as to where it started, but it expresses something we all know – People will often value a good picture when choosing a product over a large block of well-written text.
This doesn’t mean the text lacks value, and doesn’t impart more information in detail than the image. It just means that people are often in a hurry, and the value of a clear, well-constructed picture to them is that they can make a quick judgement on whether to invest more time.
The web is a visual medium, with text to add details when people want to focus on something, and social Media is more and more about images and video. Modern websites load quickly, using design to grab your attention, visual cues in colour and shape help you to find your way around, and only when you’re looking for detailed information do you really sit and read – But by then you already made the decision to stay there. In eCommerce, it’s the same.
Images help you to decide what to look at. Phones have high definition (HD) screens, and people at home are slowly moving from HD up to 4K screens on their PCs and laptops. The fact that more and more people are shopping and browsing on mobile devices is not an argument not to provide large, clear photos for your products.
With data connections getting faster (and data allowances larger, plus the greater availability of free Wi-Fi) you can offer multiple images (different views, maybe even show the product being used) for your products to make sure customers know what they are getting.
You might even want to think about using content from your users showing your products (or even demonstrating them – Look at Apple’s “Shot on iPhone” campaign, or GoPro’s use of user-generated content on Instagram and other social media, drawing on striking, creative images shared with the #GoPro hashtag.
What will I take these pictures with?
When you buy aphone, you expect that it will have a good camera (though a dedicated camera will still win for quality it must be said).Some also come with multiple lenses to help you get the best shot in a wider range of conditions. In fact, let’s be honest, it’s rare for most people to own a separate camera anymore.
The hardware in the devicesis increasingly powerful too, letting you do a wide range of editing and optimising tasks without going back to your PC or laptop. Some apps will even replace and enhance the camera app that came with your device – Improving the output right from the start.
And with specialised cameras like digital SLRs having the ability to send photos over Wi-Fi to your device or cloud storage, you can edit there and then, before uploading to social media, or your website.
Whether you want to crop the image to focus on the subject, or you notice that it’s not straight and needs to be rotated a little, you can do that on most phones or tablets with the built in tools. With more advanced apps you can add blurs and other special filters, highlights specific areas, add text as a title or labels, and even take parts of one photo and add to another. Some apps are even used to style your images in particular ways with filters or frames, and may be more useful for social media than product listings.
Some apps are free, some paid for – you need to decide if the value the app brings will justify the expense (if any), especially with more advanced or specialised features.
What’s the end result you’re trying to achieve?
Trial it with a watermarked version of the appto see if you should invest further, but be prepared to commit if it meets or exceeds your expectations. The costs are rarely huge, and the payback can be massive.
What is HDR?
A number of the apps we discuss will offer HDR images as an option. HDR means ‘High Dynamic Range’ – It is called this because digital cameras can’t see things the same way the human eye can, and lack detail because they adapt to bright sunlight and things get lost in the shadow, or adjust to the shadows, and the brighter areas become ‘whited out’. You may have noticed if you took a picture of a view in the summer, and you can see the blue sky, but wonder why you can’t see some of the things in the image that are there when you look in the shadow of a building, for example.
This is because your eyes and your brain can do a neat trick –Your eyes constantly change how they are focusing (Dynamically), and your brain combines those images into one image (A higher range of vision) – you don’t even realise it’s happening! Cameras are a little more limited. They take one image based on what you tell them to focus on, and make the best they can of it.
When professionals do HDR photos, they usually take several images with different settings close together, and then merge them to try and get more detail by using the parts of the image with the best results and combining them into a finished image. You can also get special cameras that are actually several cameras all working at once to get a better picture through HDR – But they’re not cheap!
In the case of your phone, you’ll probably find that HDR is based on an attempt to manipulate the photo and find details you can’t easily make out, because the colours are very similar, such as small differences in the tone of dark/light grey. These differences can be enhanced to provide additional detail. Sometimes it can seem harsh and artificial though. The results are getting better as they identify why it seems wrong to us, adjust the software, and as the cameras themselves get better.
The stock camera app on your phone – iPhone
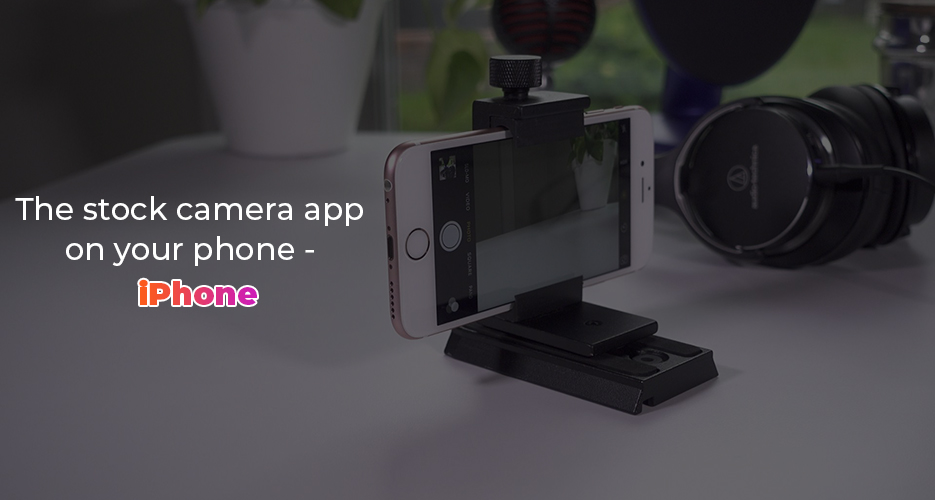
When you get your iPhone, you already have a good app to take photos in most situations – Apple have been building and improving it for over a decade. It costs you nothing (apart from the cost of the phone) and supports HDR (High Dynamic Range) photos, low light photography, background blurs when capturing portraits and burst photos.
It’s entirely possible all you need is the iPhone camera app and the right editing app, or photomontage app. It has the ability to add filters and lighting effects, and on the newer iPhones the depth sensor allows you to play around with blurring effects when trying to highlight the subject of an image.
It supports manual focusing and manual exposure control, for those of you with a bit more photography knowledge (or if you want to learn how they work).
Burst mode lets you capture multiple images very quickly, so you can pick out the image you took at just the right moment – when you’re taking pictures of moving objects (or people, or pets) then it can be the difference between success and failure when you need the perfect image.
The stock camera app on your phone – Android
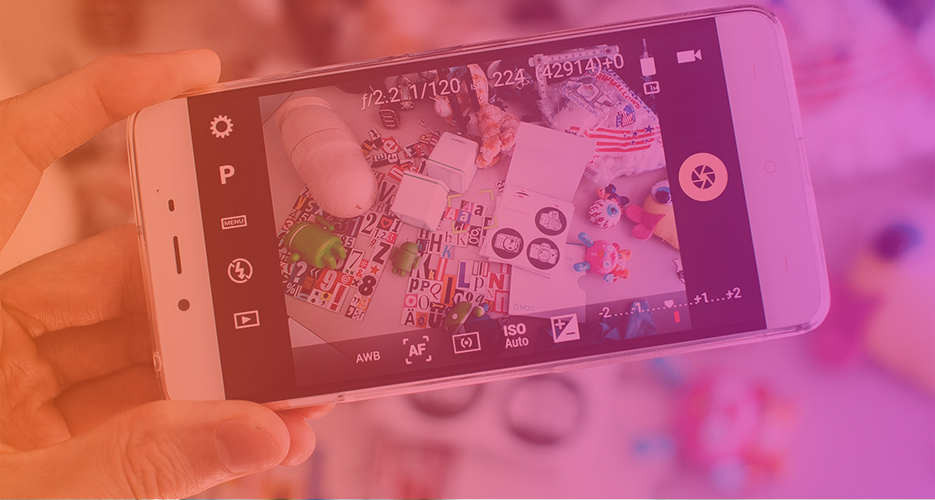
The Google Camera app comes free with Android, and is regularly updated – though the updates are supplied to you by the maker of your phone, so you may find after a few years they stop coming. Your individual manufacturer may add in other features, but at the core you can use HDR and HDR+ to make your photos more striking, enhance photos taken in low light, takepanoramic images (by letting you move the phone/camera and combining multiple pictures into one view), and switch between multiple lenses on your camera, if you bought a phone which has them. You can often save your pictures in the uncompressed RAW format like a professional camera, too, so that Hi Res photos don’t lose any details.
You can use assisted photo modes to improve your results, play with the focus and add filters after you take the picture, or use the ‘Pro’ mode to control exposure, shutter speed, ISO and other settings directly, if you know about them already, or want to learn without spending thousands of dollars on pro equipment first.
Burst mode lets you capture multiple images very quickly, so you can pick out the image you took at just the right moment – when you’re taking pictures of moving objects (or people, or pets) then it can be the difference between success and failure when you need the perfect image.
Some manufacturers include support for live AR (Alternate Reality) effects like face editing, swapping or even cartoon replacements. You may not look like you when you push the button.
Don’t forget to see what you have already before you try out a new app. Maybe you just need to find the right editor to get the end result you see in your head.
Advanced photography apps

HypoCam
Free, with in app purchases
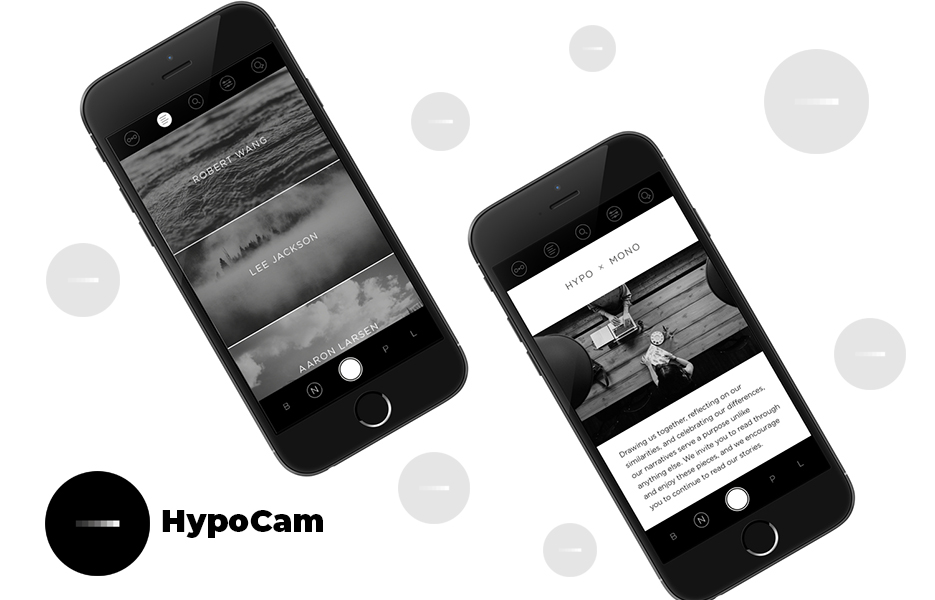
Available on both Android, and iOS, Hypocam is a photography app with a difference – it only works in black and white!
It’s a popular option to turn images monochrome after shooting to give them more impact or make them dramatic. With Hypocam, even while taking the picture, all you can see is the view before you in black and white – no needto worry if it will work later. It’s part of a philosophy that you focus on the details without the ‘distraction’ of colour. For some it can be a way to find impressive and inspirational images that grab the attention. Maybe it would do the same for you and your customers/followers.
HypoCam supports filters and textures, to apply just the right framing and tweaking, though they are bought, in packs. It also tags people that you can read about, to offer you inspirationabout why they create as they do.
Built in is the ability to filter your monochrome view based on colour. So even though it shows you black and white, what you’re seeing is a version of a view filtered for only orange light, or green.
It also includes a range of editing tools to help to get even closer to the ideal of your image, before sharing it to a range of platforms if you are targeting social media.
Halide
$5.99
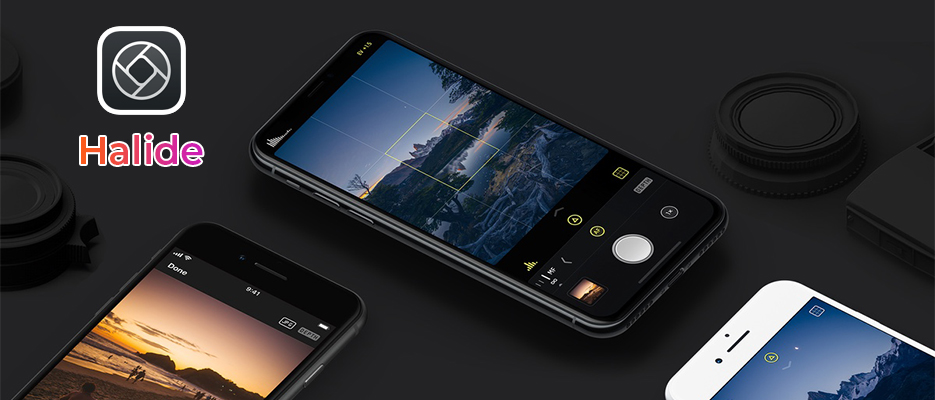
Available on iOS only, Halide is designed to be a premium upgrade. It supports shooting in RAW, to save the best quality image, plus a range of post processing options. Some of the most powerful are really intended for the newer iPhones – the iPhone XS is needed for their Smarter Processing feature, and only the iPhone 11 and iPhone 11 Pro can let you use their Deep Fusion technology and Lens Switcher features.
Halide uses a gesture based interface, to minimise distractions while taking pictures, and allow you to manually adjust the depth of field in order to get just the right image of the individual or pet in portraits. It has a live histogram function to help you adjust and perfect the exposure of the image as you take it, rather than trying to apply a fix afterwards, as well as full manual controls for shutter speed, ISO, focus control and white balance – whether you’re already a skilled photographer, or just learning.
You can choose to save in RAW, TIFF, HEIC or JPG format to make sure you get the right level of detail and quality vs file size for your images, especially vital with the lack of external storage on iPhones.
The minimal interface hides controls until you need them, and regularly used controls use interaction with the image on screen – touching and pinching to change the image exposure, swiping up to show the Quick Bar (where you can drag and drop the controls to rearrange them) and more.
Where you have more than one lens on your iPhone camera, the ‘Depth Peeking’ mode illustrates the image as seen by the camera in 3 dimensions, to help you see where and why your phone is focusing. It helpsyou to compose your shots better by understand how to best use the camera.
Halide doesn’t have an image editor, just a viewer, but there are lots to choose from, and taking a great image first means less work to do in the edit.
Hydra
£4.99
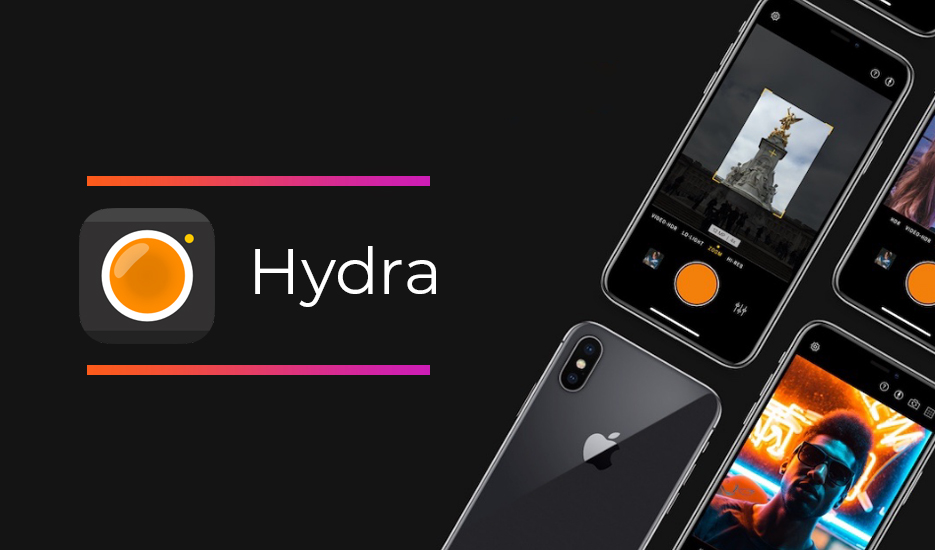
In mythology, the Hydra was a serpent with many heads. Hydra, available on iOS, uses the name because it does something a little different to most: it takes a batch of pictures and merges them together in the cloud, in order to achieve an optimal result.
In its High-Res mode it takes 20 images, and merges them into an image of up to 32MP in resolution regardless of the sensor in the camera.
In Zoom mode, Hydra can give you an effective optical zoom of 8x (Most phone cameras are up to 2x – Any additional zoom is normally done by reducing the amount of detail the sensor in the camera gathers in favour of focusing on one area of the image. Hydra gives you a closer view and plenty of detail.
Shooting HDR images and HDR video in Hydra works by combining images at different exposures to show more details. It gives you the option of ‘Black & White’, ‘Medium’ or ‘Strong’ results, so you can avoid the sometimes ‘over processed’ look, while still adding definition and detail than a normal photo.
How does Hydra combine images to produce these results? It’sa simple concept, but it needs lots of computing power to make it work fairly quickly.
For starters, you need to keep the camera, and the subject, as still as possible during the taking of the burst of images, so it’s not great for sports day, or concerts. This is to make it possible for the images to be compared and combined. We’ve all seen the images on Google Street View where people are ‘smudged’ or ‘stretched’ from moving in a different direction to the google car while it takes pictures of the roads.
Hydra then compares these images and identifies the small differences between them – because digital camera sensors gather an average of the information for the elements in the sensor, so the small movements of your hand holding the camera, and the items in the shot, create differences. Those differences then allow Hydra to create the ‘new’ image at a higher resolution, with additional details instead of ‘blurs’ and ‘smudges’. Whether it’s a bigger image entirely, or a zoomed image, the details are unexpectedly sharp and crisp, but not artificially so.
Lo-Light mode takes 50 pictures and merges them, using some clever noise reduction and other tricks of the trade it gives you a clearer image than just applying an algorithm to a single image. Obviously there could be a lot of noise in the enhanced image, but because it uses the comparisons to identify and eliminate it, instead of adding details, it can produce much clearer images.
‘Noise’ is the term for speckles and dots that occur in images taken in darker conditions with a digital camera, as it tries to make sense of things. Because computers aren’t as good at ‘guessing’ correctly, different images taken one after another in the dark may have different noise patterns on them, whether from dust, items moving or other reasons.
The downside to Hydra is the time it takes to capture all the images it uses to create the final picture, as well as the processing time. But the level of detail and clarity is impressive, especially for such a relatively small investment.
Image editing and manipulation
Once you’ve taken a pretty good picture, but you feel it needs a little more… something, what should you do? Once upon a time you took it home, to the office, or got out your laptop. Now, you just need to find the right app!
One of the biggest names in image editing and manipulation is Photoshop, made by Adobe. So we’ll start by looking at some of their offerings, and then move onto some alternatives.
Photoshop Express
Free
Available on both Android and iOS, Photoshop Express isn’t as powerful as its desktop big brother, but it’s still got a lot of impressive tools for image editing and creating photo collages.
Photoshop Express is free to download, with some in app purchases, but some of its features will require that you register online for a free Adobe ID account.
Photoshop Express is free to download, with some in app purchases, but some of its features will require that you register online for a free Adobe ID account.
You can, of course, crop your images – whether to remove undesirable items and people, or to match presets for a number of social media platforms. You can rotate and flip them to get things lined up just right.
If the colours aren’t right, or it’s too washed out, you can adjust the exposure and contrast, the hue of the colours and the saturation, in addition to adjusting the depth of the shadows and the glare of the brighter areas. You can even pick out and tweak the appearance of individual colours if they are too bright, or not standing out enough.
For images of people (and pets), you can remove red eye and adjust blemishes. You can blur parts or all of an image, use textures and images to adjust the appearance, even add text and stickers.
Adobe Photoshop Express also supports the creation of photo collages, cropping and combining multiple images together along with frames.
In addition, on the iPhone you can add photos to Adobe Photo Stream for others to see – It’s a bit like Adobe’s take on Instagam. If you see an image on there and you like what the other person has done with it, you can ‘borrow’ their changes for your own images. You can even share the image to Photoshop, Lightroom or other Adobe Creative Cloud applications, if you need tools you can’t get on the mobile.
And when you’re happy with what you’ve produced and you want to share it with the world – Share to Facebook, to Google Photos, or Dropbox.
Lightroom Mobile
Free, subscription options
Adobe Lightroom CC (Creative Cloud, Adobe’s creative software suite) is a powerful desktop program dedicated to making sure photographers got the very best results from their cameras – Optimising and tweaking, rebalancing and adjusting, removing the blemishes and problems. More recently they have been experimenting with a version of Lightroom on mobile devices, both Android and iOS.
What’s so special about Lightroom Mobile? The most important thing about it is that it’s non-destructive.
As a general rule, when you edit an image, save it, and close the programme, that change is permanent. Once changed, that change is permanent. If you open it elsewhere, no matter the app or programme, they can only see the changed image.
With Lightroom Mobile, if you make the edit, close the image and the app, then come back to it the next week, you can undo the change you made, and make an alternative change after reflection or comments from others. This alone is a powerful tool.
Lightroom Mobile also allows you to make changes selectively. You can blur a selected area, not the whole image. Combine this with a stylus, like the Apple Pencil, and you can make very small, very powerful adjustments to an image easily.
Another important thing about Lightroom Mobile is that it properly handles the metadata for image files. This means you can not only review what device took the image, where it was taken, the settings, etc., but you can update them, or add keywords and metadata that affect how it’s handled by other platforms. This means that when it’s shared on platforms like Flickr, people can search for it based on that metadata, looking for all images that were taken in Switzerland with the keyword ‘chocolate’ during March, for example..
Lightroom Mobile is a powerful app, but to get the most from it you need to subscribe to a Creative Cloud plan and use Lightroom Premium. Starting at just £9.98 per month, the Photography Plan (or the Lightroom Plan, not so well featured) gives you access to Lightroom Mobile Premium, Lightroom Classic on the PC or Mac, the Lightroom Web version, Adobe Photoshop, Adobe’s Spark for creating web pages, videos and graphics, Adobe Portfolio for hosting and creating your own website (up to 5) to give your work exposure. It includes 1TB (Lightroom Plan) or 20 GB (Photography Plan) of web space (Lightroom doesn’t include Photoshop or Lightroom Classic). You can pay for extra storage, too.
Remember to check the Creative Cloud page for current prices and plans – they change frequently, and Adobe run regular offers and promotions.
What’s the difference in supported features between Lightroom Mobile Free, and Lightroom Mobile Premium when you’re using it on your mobile device, though?
Lightroom Mobile Free features:
- Exposure
- Contrast
- Highlights
- Shadows
- Black point
- Colour temperature
- Colour tone
- Colour dynamic
- Saturation
- Texture
- Clarity
- Remove haze
- Add a vignette
- Denoising
- Sharpen image
- Add grain
- Convert to black and white
- Cropping
Lightroom Mobile Premium also includes:
- Open and edit RAW files
- Selective adjustments (apply adjustments to only part of an image)
- Create and sync sets of presets with Lightroom Classic
- Repair tool
- Apply corrections for geometry and perspective
- Sync photos between Lightroom Mobile, Lightroom Classic and Lightroom Desktop
- Create Web Galleries from Lightroom Mobile
- Sensei search (Identifies items and colours in a photo to allow you to search for it more easily in your collection).
- People (Identify the people in your pictures and allow you to search and group your pictures by the people in them).
Adobe Photoshop Fix
Free
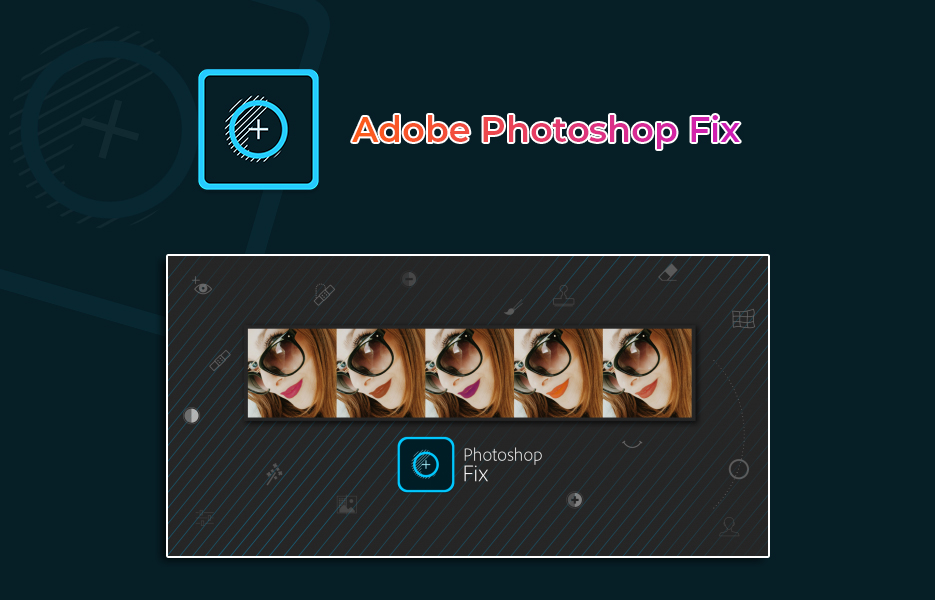
If you’re taking lots of selfies and portraits, or images with people in, then Photoshop Fix may be the right editor for you!
As with Photoshop Express, Adobe have sliced off a small section of the desktop application as a mobile tool under the Photoshop banner. It’s not so much about learning to do things like healing and retouching as you would do in Photoshop desktop, instead it presents you with a number of tools and presets that you can quickly apply and manipulate in combination to get a better version of your photograph.
Want to remove someone or something from the picture? Photoshop fix has a tool for that.
Want to remove unsightly spots, freckles or smudges on your face? Photoshop fix has a tool for that.
Want to tweak and adjust the appearance of the shadows or highlights to make the people in the image easier to see and recognise? Photoshop fix has a tool for that, too.
There are a few nice touches that are about more than ‘fixing’, though. Most notably the ‘Liquify’ tools. Add an image, and you can swirly and tweak and twirl that image as if it was printed on the surface of a liquid medium and you have a stick. Load a portrait or other image with a face in, though, and Photoshop fix will make a pretty accurate guess as to the features in the image, allowing you to make adjustments to them (nose a little crooked? We can fix that. Always wanted to give your teacher a HUGE nose? That’s also an option!).
As an Adobe product, if you have an Adobe ID you can also share your images through Creative Cloud, making it available in Lightroom or Photoshop within a short period as long as you have internet access on your device.
Photoshop fix is a great tool to have available for when you just need to remove some blemishes (or a photo bomber) quickly.
Visage

VicMan LLC
Free with watermarks, £4.99 per month or £9.99 per year to remove
For the hard-core selfie addict, if Photoshop fix isn’t working for you, consider Visage. It has a range of quick and simple tools for you to use when your selfie game is let down by blotchy skin, a sudden spot breaking out, or slightly off-colour teeth.
Late night? We can get rid of those bags under your eyes. Looking a little pale? Not a problem.
And once you’ve got your face looking right, there are some other filters and backgrounds you can try out, if you want, to add a little more pizazz to your picture.
The free version watermarks your images with a hashtag, and shows a lot of ads while you are using it. If you’re going to use it enough, then £9.99 per year is a bargain, especially compared to £4.99 per month. As always, try it out for free a few times first to see if it works for you. Sometimes the right tool is the one you didn’t try.
Snapseed
Free
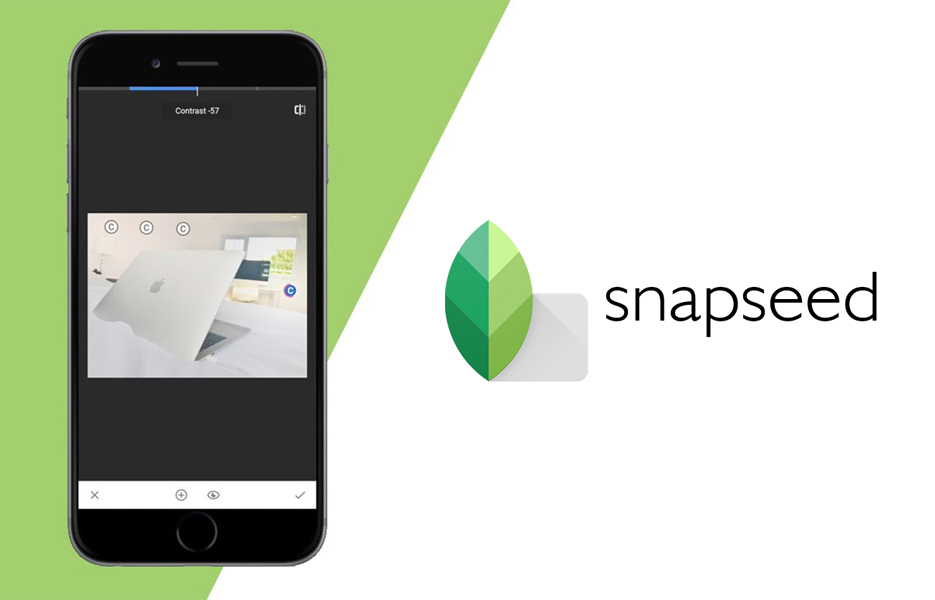
As a general purpose free image editor, regardless of who you bought your device from, it’s hard to knock Snapseed. To look at, the interface is pretty simple, and once an image has been loaded you may feel like it’s not really offering you many tools, or much power. There are some simple and effective presets, but they’re far from the real stars of the show.
Where Snapseed really shines is the ability to create and save your own presets. Tune, drop, rotate, and heal are all available. But you can also adjust and tweak the image, and the individual RGB colours.
Precision masking when applying filters, and perspective correction are always valuable tools for the more advanced user. Plus, Snapseed edits are non-destructive, so you can experiment as much as you like.
It’s hard to emphasise how powerful and useful Snapseed is, especially once you’ve built up a set of custom filters for common tasks. It doesn’t just save time, it helps you to do things consistently, and to worry about other things instead.
Prisma
Prisma Labs
Free, in app purchases and ads
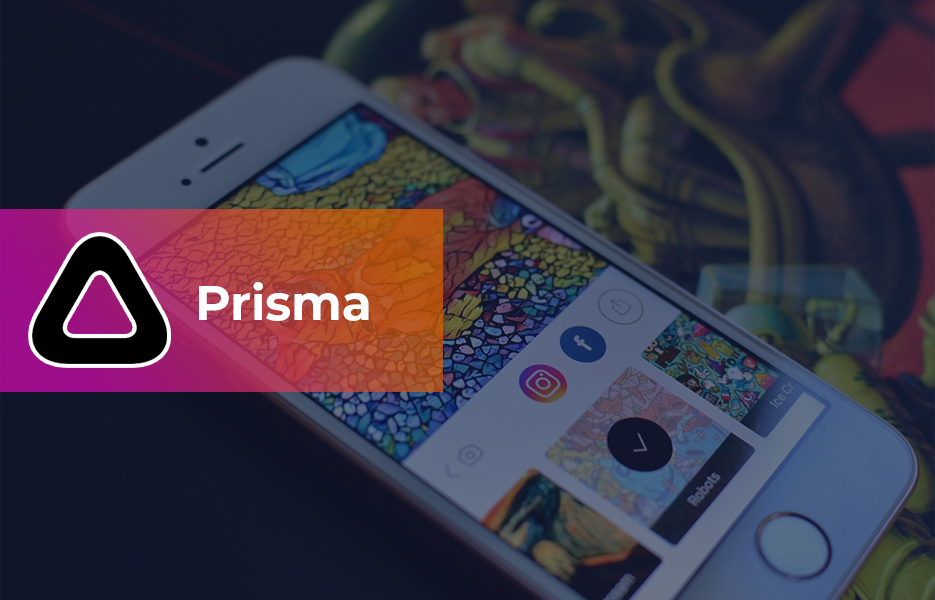
If you want to produce something a little…. quirky, then there’s always Prisma, available on Android and iOS. It has editing functions to crop, rotate and reframe your images and get them where you wanted them. But the real value comes in its artistic filters.
With over 300 options to choose from, and regular releases too, Prisma allows you to recreate and reimagine any image you upload to their servers – what comes back may resemble the original, but it will definitely blow your mind. It may be a false colour view that makes the whole scene ominous and looming. It might come back from Prisma’s servers looking like it has been painted with oil paints, or pastels. Enhanced edges, colour inversions, smudges, smears, and changes to focus, all can be easily and quickly applied until you find the effect you want.
Once you’ve played with it for a bit, then there’s the option to subscribe. This unlocks more filters, but also gives access to higher resolution exports for the updated versions of your images. At the end of the day, you need to try it first, and see if you think you’ll use it before you think about subscribing, as it’s not on the cheap side.
It can produce some visually stunning results from OK pictures, but the key is to remember that experimentation and experience will improve your ‘hit’ rate. You will occasionally find it doesn’t’ quite return what you had expected. It will still regularly ‘wow’ you, your friends and your followers, though. The great results, which you will share, will make you stick in their minds, which is valuable when you are trying to be memorable.
Subscribing to Prisma is £4.99 per month, or £29.99 for a year –if you’re going to be using it a lot, it’s definitely worth theannual subscription. There’s genuine value in being able to get people’s attention with the imagesPrisma returns.
Honourable Mention
Essentially a full desktop app on a tablet, it doesn’t seem fair to put this app up against the others, but it’s too valuable to not mention, and very reasonably priced if you need this much power!
Affinity Photo for iPad
Serif Labs
£19.99
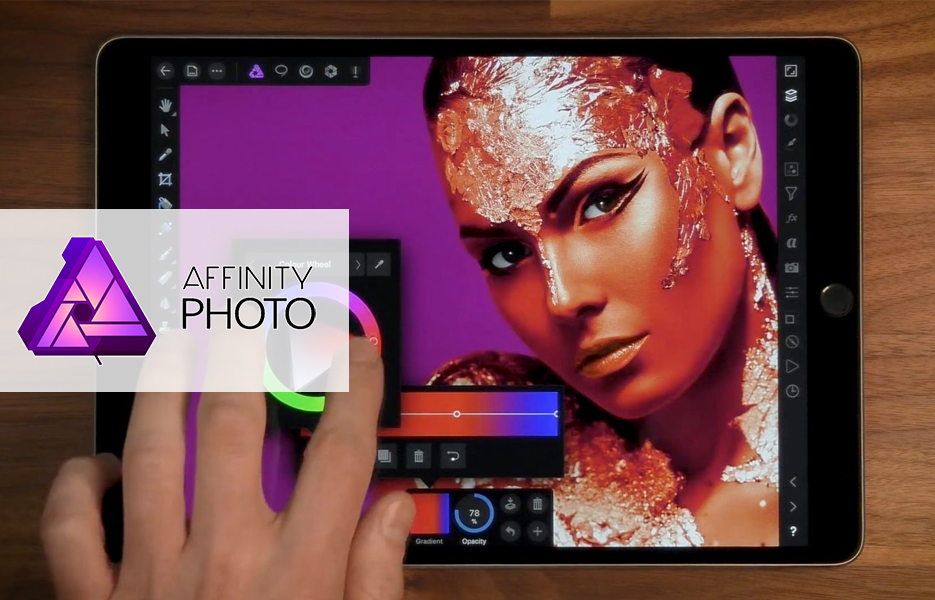
Available only on iPad, Affinity Photo is probably the strongest contender for the best overall editor on a mobile device. Given that it’s a tailored port of a full desktop application, and optimised for large screens, that’s probably a hint that it’s a little bit of a one horse race, as the other editing apps mentioned here are either focused on smaller screens, or special purpose tools to get the most ‘bang for your buck’.
£20 may seem a lot, but when you start to get the hang of it, you’ll realise how little that actually is (especially compared to the cost of the iPad and Apple Pencil you’re probably using with it). Please note that it only works with newer iPads (iPad Pro (all 3 sizes), iPad Air 2&3, iPad Mini 5, and standard iPads from early 2017 onwards) so if you want to use it, you may need to factor in or bring forward an upgraded iPad.
Essentially, Affinity Photo is the same application professionals and semi-professionals use on their desktop or laptop, but with the advantages of using a high-end touchscreen graphics tablet like the Wacom Cintiq. And since you already bought the iPad, it effectively saves you about £650! Serif say that it uses the same core as the desktop application, but optimised for the iPad’s hardware to squeeze as much performance as possible out of whichever tablet you’re using.
But the app itself is incredibly powerful, especially for the cost. Instead of using Lightroom Premium for 2 months, you can gain many times more functionality, including the ability to export your work as PSD files, should you need to for a co-worker to work on them, or should a client require them in that format, along with pretty much any other image format you can think of.
Affinity Photo can:
- Edit RAW files.
- Stitch images into a panorama.
- Correct your images for Lens distortion.
- Correct your images for Lens distortion.
- Correct blemishes and retouch an image by changing small areas of the image.
- Work with an unlimited number of layers.
- Make ‘non-destructive’ edits to your images like Lightroom.
- Organise and customise multiple workspaces (personas) for different tasks, with all the right tools to hand, and switch between them easily.
- Create HDR (High Dynamic Range) versions of your photos.
- Customise brushes, or import brushes to get a specific effect on your final image.
All interface elements are minimised, popping out when you need to see information or make changes – It keeps your focus is on the image, no matter the size of screen you’re using. Layers, colour adjustments, brushes – All have their own ‘Studio’ pop out to tweak and adjust them for the right effect, but hide away when not needed. Not an inch of space feels wasted.
The main limitations on Affinity are two-fold:
- If you’re working on RAW files, the amount of space available on an iPad is limited. But since it supports iCloud file transfer, as well as Dropbox and Google Drive, then as long as you have Wi-Fi or a generous data allowance you can move photos on and off your iPad as you work on them. With so many wins, there was always going to be at least one ‘gotcha’. This is especially true if you like to work with RAW files, which are not known for being small.
- It has no built in image organisation/library tool, so you need to use the Apple Photos app. If you like to work with the original RAW of an image in the same folder as a JPG, PNG (or other format) version, then the RAW version won’t show up in Photos ‘Import’ dialog. Affinity will need you to launch Photos from within after opening it, though, because it’s not written to act as an extension of Photos. You can use the share button to export images back to Photos after you finish working on them in Affinity. It’s not elegant, but it’s something we’ll likely see addressed in future updates.
It’s a very powerful piece of software to fit on a package as small as an iPad, and very reasonably priced (like the desktop version) – it’s biggest blessing, though, is that it’s a simple purchase, while Adobe are opting to take the subscription route with Creative Cloud. Adobe’s mobile efforts, as you have seen, are split across multiple smaller programmes. They treat those mobile apps as smaller tools which add value to their Creative Cloud programme.
This is great if you’re already invested in them, but if you just need to be taking pictures and making them look good, and you want something that just works, then it’s hard to recommend any editor over Affinity Photo, as long as you have an iPad it supports.
Images are important when trying to promote products or services online. Increasingly we have the tools to take great pictures, but we don’t just need to practice. Sometimes we need to find the right tools to help us go from a 6 to a 10. Sometimes that means helping us to take better photos, or helping us to make them better afterwards – More striking, better balanced, cleaner, fresher.
It’s a beautiful day, and you take a good picture, but with a bit of work it’s better.The sky is more intense and vibrant, the kids have ruddy complexions and their smiles are whiter. You can’t see the man that was walking in a hoodie in the background, and tear in their t-shirts are gone. Someone browsing the next day sees the image on a listing, it reminds them of their grandson, the ball looks very reasonably priced, and they buy one.
You’re thinking about going on holiday. You’re looking at 2 apartments. Objectively you know that they are less than a mile apart. But it’s not hard to choose between them really.
One is a little more expensive, the view from the balcony shows a lovely summer’s day with beautiful blue green seas, and vibrant green palm trees by the beach. The umbrellas by the pool are bright, clean white that glow in the sunlight, the people on the loungers are tanned and smiling, and the pool is so blue and inviting.
The other apartment looks out on greyish blue seas, and a pale, watery sky. The umbrellas by the pool are a little dingy, and a little tatty. The loungers look like they need to be sanded and repainted, while the holiday makers are a little pale, and one has bags under her eyes. The pool looks a little greenish, like it may be cold.
Not a hard decision to make, is it?
We make snap judgements in a range of ways. By trying out some of the apps in this article, you can look at ways to take better photos using the right app from you, and then how to make those images even better, or more striking. You want to stand out from the crowd – to be shared with friends, recommended. That’s how you make money, because people see more value in what you are showing them, and want to be part of that experience. And they’re willing to spend money on it, because they see value in the spending of that money.
Apps will help, but there is also a need for research, practice and a little bit of fairy dust – That comes down to you, and sometimes to timing. Don’t be afraid to try something new, as you will likely surprise yourself – and hopefully in a good way. If it’s not a good surprise, it is something you know to not do again, and that will save you time. Invest in creating good pictures and it will pay you back many times.
We look forward to seeing what you can do with these apps and your phones. The biggest limit is often your imagination!



DropShip products from verified suppliers to diversify your inventory and scale your eCommerce business